My first tour in Seattle was in Pike Place Market, which is Seattle's most famous tourist stop. It has an incredible array of restaurants. At first, I was planning to book for a local food walking tour but sadly, I didn't push it through. I might have food allergies and I didn't want to ruin my whole trip so yeah, I just did it on my own. Apologies.
The common food tour has a duration of 2 hours. It usually starts with Daily Dozen Donuts ⇨ Ellenos Real Greek Yogurt ⇨ Pike Place Chowder ⇨ Chukar Cherries ⇨ Beecher's Handmade Cheese ⇨ Piroshky, Piroshky ⇨ Etta's Seafood Restaurant.
Without further ado, here's the summary of my tour.


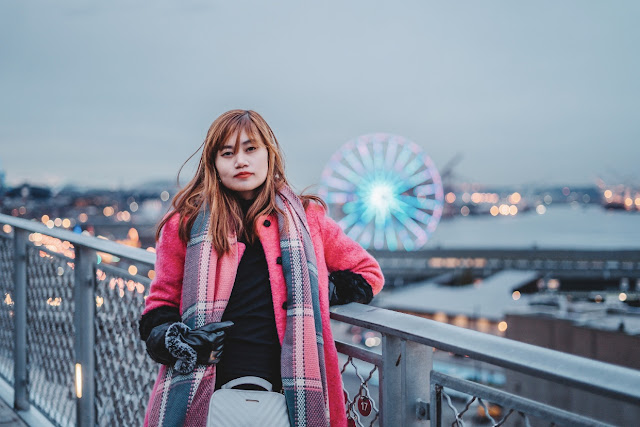
Tip: If you want to have this kind of photo, I will share it on my next blog post.
Address: 85 Pike St, Seattle, WA 98101, United States
E-mail Address: info@pikeplacemarket.org
Telephone Number: (206) 682-7453
» Pike Place Market «
Seattle's Pike Place Market is the oldest public market, which was started since 1907. It has a rich history with the longest continually run market in the United States. It is also one of the most well-known and iconic spots with overlooking of Elliot Bay.
» Local Food Tour «
» My DIY Tour Experience «
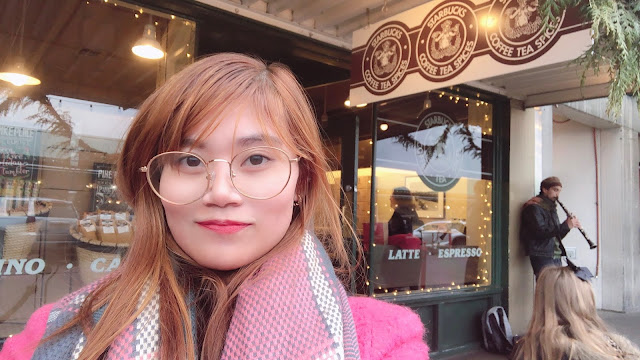
» Visit the First Original Starbucks Store
I first visited the world's first Starbucks store because it's where my uncle dropped me off. I'm a fan of Starbucks before but not now because I already quit caffeine beverages. I checked the store and to my surprise, it's not huge as I imagined.
» Watch the Buskers
Then, I saw some Buskers or commonly called as street entertainers beside the store. They enrich the market's vibrant cultural community. You can also see them along the roads or side walks of Pike Place if you roam around.
» Eat at Piroshky Piroshky
Beside the Starbucks store is where the Piroshky Piroshky stands. I went there to have my breakfast. They sell a variety of sweet and savory fillings wrapped pastries. Below is what I ordered.
» Selfie with Rachel The Pig
I roamed around and had a selfie with Rachel the Pig. She's a huge bronze pig. She's an amazing fundraiser, where you can make a donation to good causes.
» Visit the Argosy Cruises
After roaming around the market, I walked for a few kilometres to get to Argosy Cruises, which I will share on my next blog post.
» Visit the Seattle Aquarium
I also visited Seattle Aquarium after visiting the Argosy Cruises. It's part of Seattle City Pass, which I purchased online when I was still in the Philippines. I will share it on my next blog post.
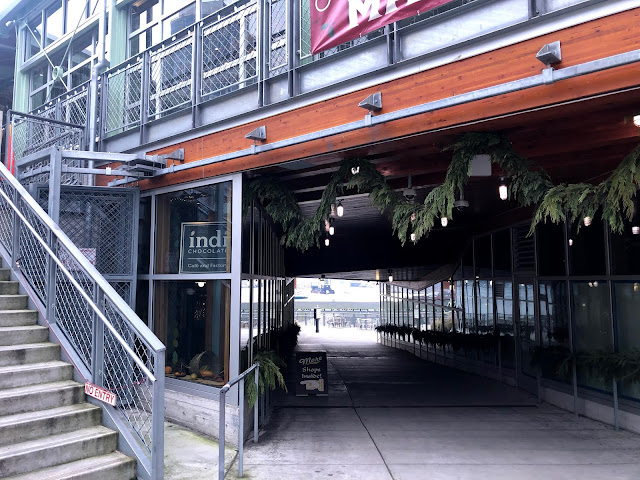
» Taste Chocolate at Indi Chocolate
I saw the Indi Chocolate while I was walking down the road. It is the only chocolate factory in Pike Place Market. It has an interesting story. By the way, they have chocolate making classes, which you can enjoy if you visit.
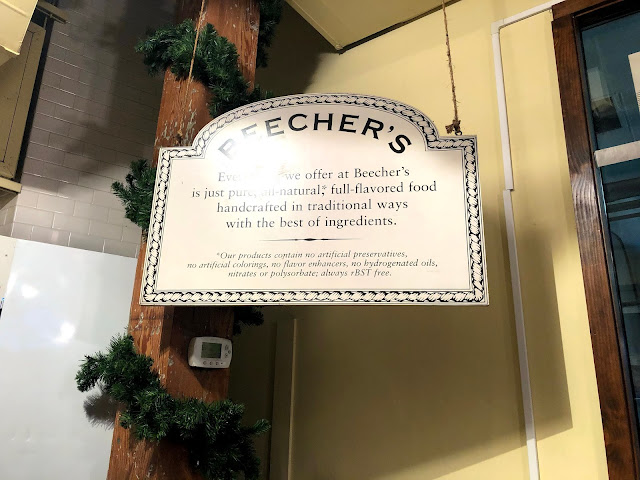
» Taste the Cheese at Beecher's Homemade Cheese
I went back for PM snack and tried Oprah's favourite, Beecher's Homemade Cheese. I fell in love with it! You can also watch live on how the cheese is made. Well I regret that I didn't document it.
» Visit the Oriental Food Market
I also checked the Oriental Food Market but unfortunately it's already closed. Unfortunately, they are only open for lunch.
» Catch the Sunset at Pike Place Market Front
To get out most of the trip, watch the sunset at the new Pike Place Market Front. Opened in 2017, you can see the picturesque view of Elliot Bay and West Seattle.Tip: If you want to have this kind of photo, I will share it on my next blog post.
» Info «
Address: 85 Pike St, Seattle, WA 98101, United States
Open Hours: 9:00 am - 6:00 pm
Website: http://pikeplacemarket.org/E-mail Address: info@pikeplacemarket.org
Telephone Number: (206) 682-7453
Have you been to Pike Place Market? Share your experience.